Happy New Year everyone! Most of the decorations are put away, and I'm happy to be back blogging and cooking. As I write, there are carpenters working on the bakery building adding a "pantry". It's going to be great. Lots of room to put away the shelving units that have been taking up space for years. There will be more room for classes, and I'll be able to welcome larger groups. Since we didn't need two pizzas, and it's the middle of the day. I invited the guys for lunch. It's freezing cold and a nice hot pizza sounded good. It makes me feel a little like Ina Garten!
I decided to use Chianti for the wine. The kind with the straw around the bottle. When we were Christmas shopping, I found boxes of the drippy candles that change color as they drip. My dad loves these and so do I. I could use a regular wine bottle, but since I needed wine and the candles needed a bottle, this was the perfect match. I need to drink or use about another 750 ml's of wine before the candle dripping can commence but I'm off to a good start. If you look at the box, you'll see the wine bottle sketched out! I promise to show you the bottle once it's been dripped.

There are some fun recipes just around the corner. The recipe for today is from Baking with Julia, by Dorie Greenspan and is part of the Tuesdays with Dorie blogging group. It's not too late to pick up a copy and join the fun.
On to the pizza...

A few years ago, I was making the Onion Soup from Thomas Keller's Bouchon. In the recipe, he teaches how to cut an onion perfectly so it will wilt and cook down nicely for caramelized onions. I used the same technique here and will show you how it's done.


If you run out of room, turn the onion around and start from the other side. Cutting this way will break the membrane in the layers of the onion and help to make them move tender and softer as they caramelize.
So what is confit (cone-fee)? It's the process of cooking to make the fruit of vegetable soft but sweet. Orange peels are confited before being dipped into dark chocolate. Confiture is jam in French. So think... tender, sweet onions.
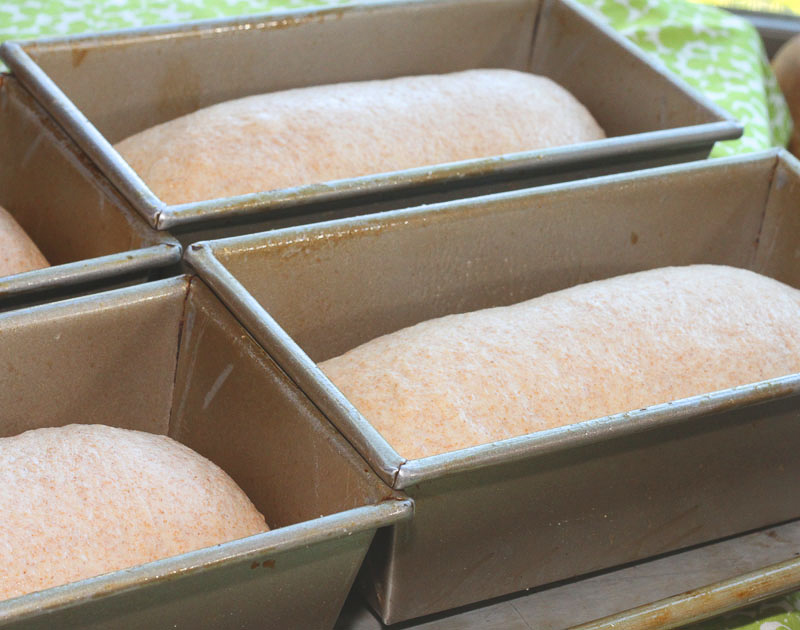
Once the onions (sprinkled with sugar) are in the pan and cooked a bit, the wine, red wine vinegar, thyme, salt and pepper as added. I simmered the confit for about 1 1/2 hours. Just the perfect time for the dough to have a second rise.
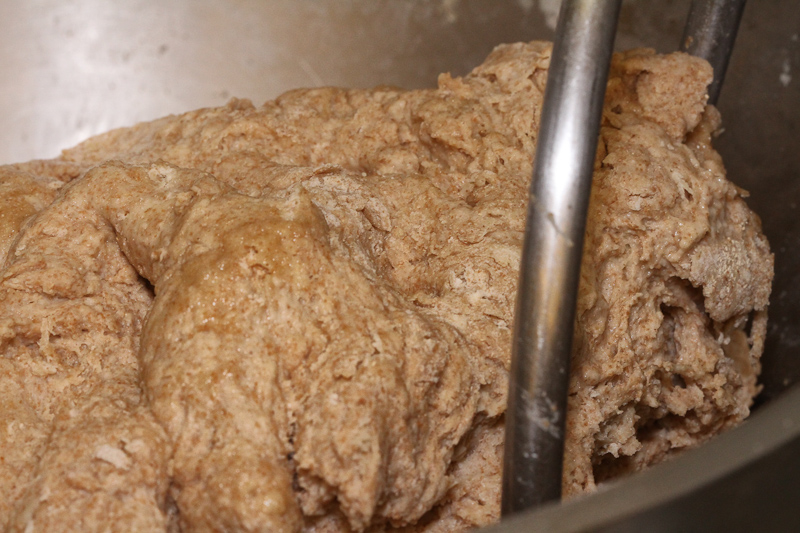
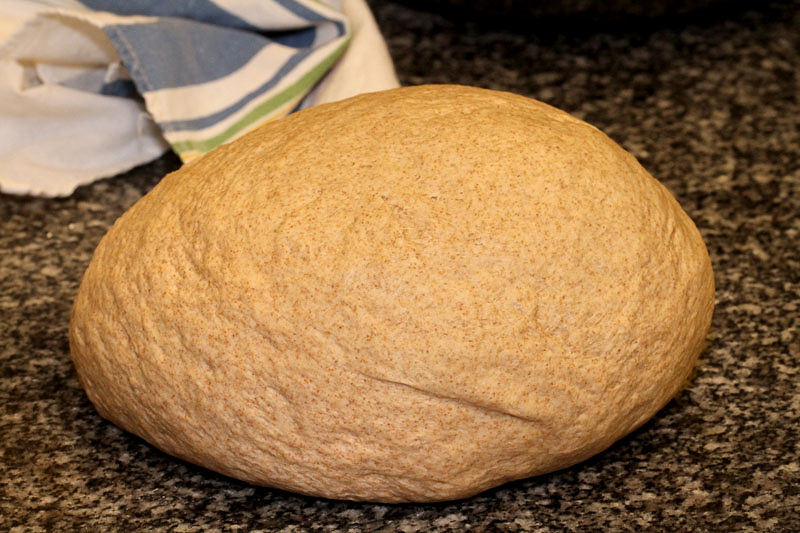
The dough is very easy to put together and has a wonderful texture and feel. If you're not planning to make the onion confit, you should still head over to The Boy Can Bake and Paul will have all the recipes for you.
I used a mix of Parmesan, Romano, and Asiago cheeses with an assortment of olives. A few of the olives were stuffed with blue cheese so they were a great addition.

Exactly 15 minutes later the pizza was crisp, golden and delicious. I baked mine on parchment on a baking sheet and skipped the peel process.

Have a great time making this pizza! (and dripping candles...)