Christmas Morning Cinnamon Rolls

Hello and Happy Christmas Week!

It’s the week of Christmas, and I hope you’re enjoying this time. I’m secretly wishing for lots of snow, but I don’t think that’s going to happen - at least this week.

There’s something we need to discuss.

Butter. Butter is great, and it’s really great for baking. A few of you asked me why in the world my holiday cookie recipes included shortening. (Read that with a shudder). Well, here’s my best explanation. I don’t know why. The recipes I’ve shared are very old family recipes, the kind that are on tattered note cards with little notes in the margins. They were handed down from my great grand mothers and who knows who made them before that. And maybe when shortening become cool, my grandma swapped it out to be hip. I have found several shortening pamphlets and simple cookbooks in her collection. Who knows? The recipes use shortening. Truth be told, I think it’s a little weird too.

Here’s the thing. For the most part, fat is fat. Different fats have different tastes. Generally, they’re soft at room temp and firm when cool. If you change the fat, you can change the taste. Better? Maybe.

The best fat is the one that tastes the best to you and produces the result you like. Memory has a huge play in what tastes good to us. Would butter taste better if I were eating this cookies for the first time? Probably. For me, these recipes taste great. They evoke memories of learning to make them standing beside my grandma or my mom. I remember like it was yesterday getting to make the batches of cookies all by myself. When I make them now and I critique the outcome, it’s the memories and the taste that combine for the satisfaction of a job well done. I’m sure that one day I’ll try with recipes with butter, and I’m sure they’re taste great. And if you’d like to try them with butter, please do, I promise I won’t be the least bit offended. In the meantime, for these recipes, once a year, it’s shortening.

Now on to the recipe for the week!

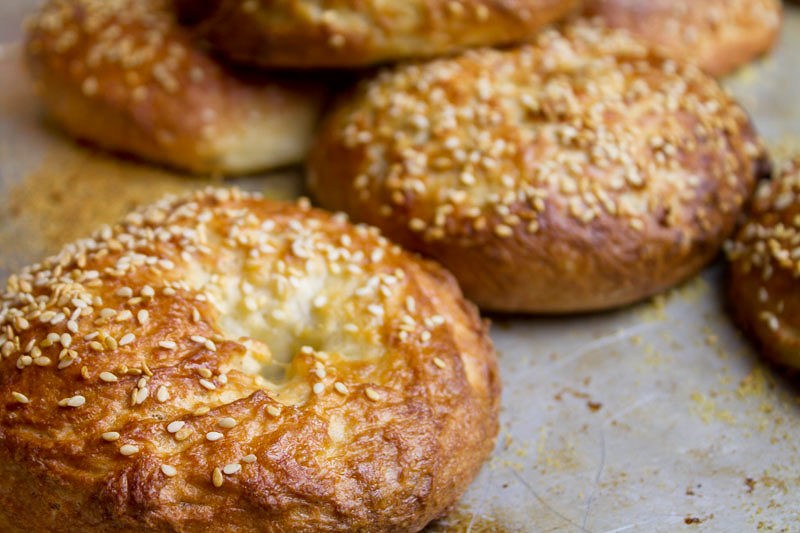
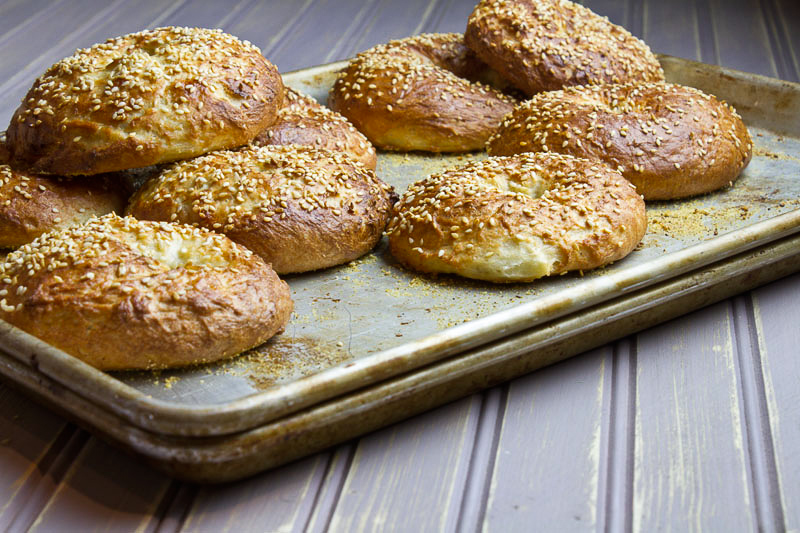
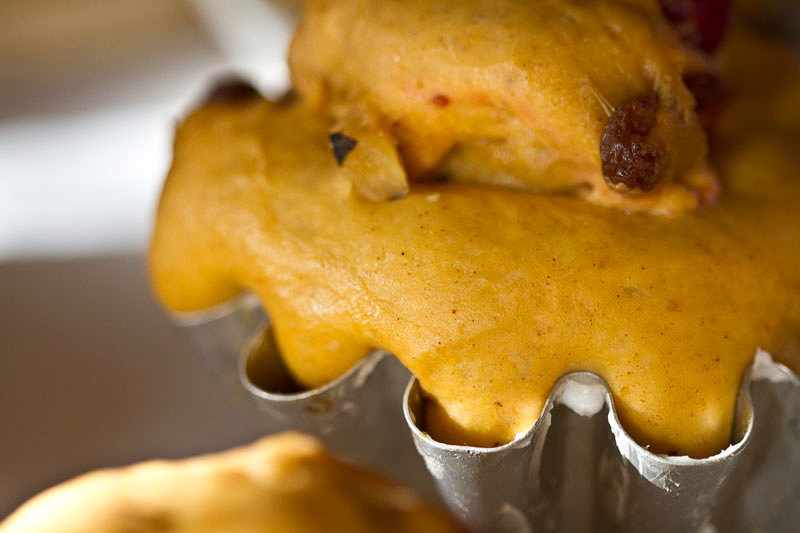
I know some of you have made these a tradition for Christmas morning. Thank you! I like to make them in a deep pan and cut them into squares, then use the frosting as a condiment! They’re big & fluffy, and just what Christmas morning should be. You can make the dough the night before and let the rolls rise in the frig (gently cover with plastic wrap). Bring them up to room temperature and bake.

Cinnamon Rolls

cinnamon rolls.jpg

Dough:

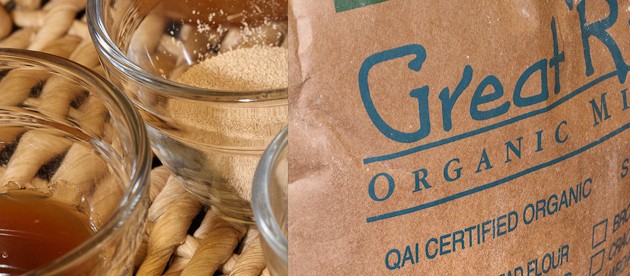
2 pkg. active dry yeast

1 C. warm water (105-115 degree)

2/3 C. plus 1 tsp. granulated sugar, divided

1 C. warmed milk

2/3 C. butter

2 tsp salt

2 eggs, slightly beaten

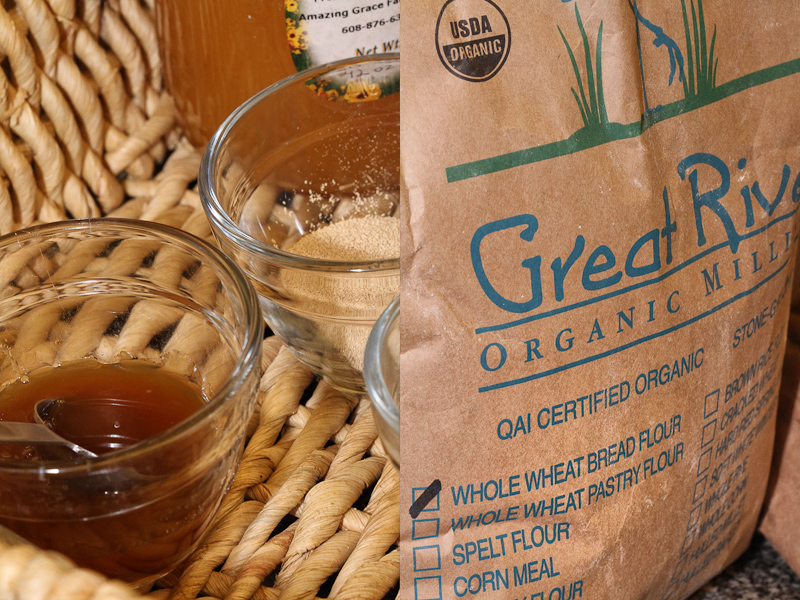
7-8 C. all-purpose flour, or more if needed

Filling:

1 C. melted butter, divided (2 sticks)

1 3/4 C. granulated sugar, divided

3 Tbsp. ground cinnamon

1 1/2 C. chopped walnuts, optional

1 1/2 C. raisins, optional

Creamy Glaze (not pictured):

2/3 C. melted butter (1 stick plus 2 Tbsp.)

4 C. powdered sugar

2 tsp vanilla

4-8 Tbsp. hot water


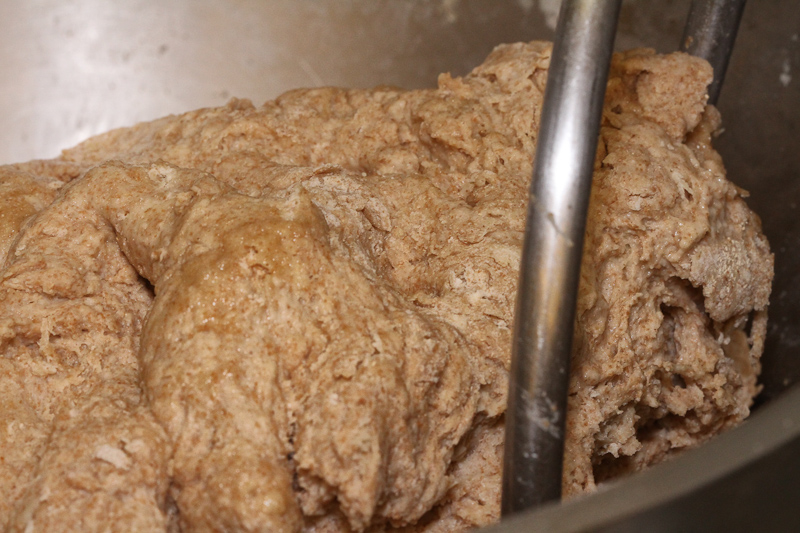
In a small bowl mix together warm water, yeast and sugar and set aside. In a large bowl, mix milk, remaining 2/3 cup sugar, melted butter, salt and eggs; stir well and add yeast mixture. Add half the flour and beat until smooth. Stir in enough of the remaining flour until dough is slightly stiff (dough will be sticky).

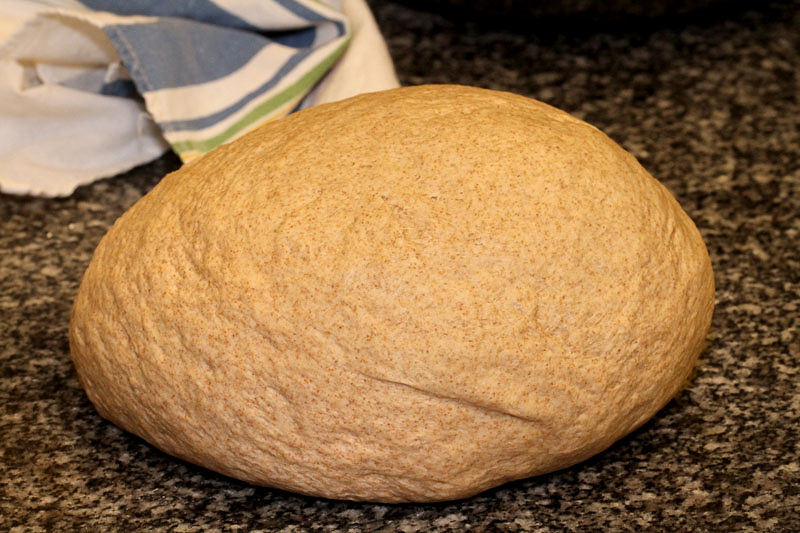
Turn out onto a well-floured board; knead 5 -10 minutes. Place in well-buttered glass or plastic bowl, cover and let rise in warm place, free from drafts, until doubled in bulk, about 1 to 1 1/2 hours.

When doubled, punch down dough and let rest 5 minutes. Roll out on floured surface into a 15 x 20 inch rectangle.

To prepare filling: Spread dough with 1/2 cup melted butter. Mix together 1 1/2 cups sugar and cinnamon; sprinkle over buttered dough. Sprinkle with walnuts and raisins, if desired.

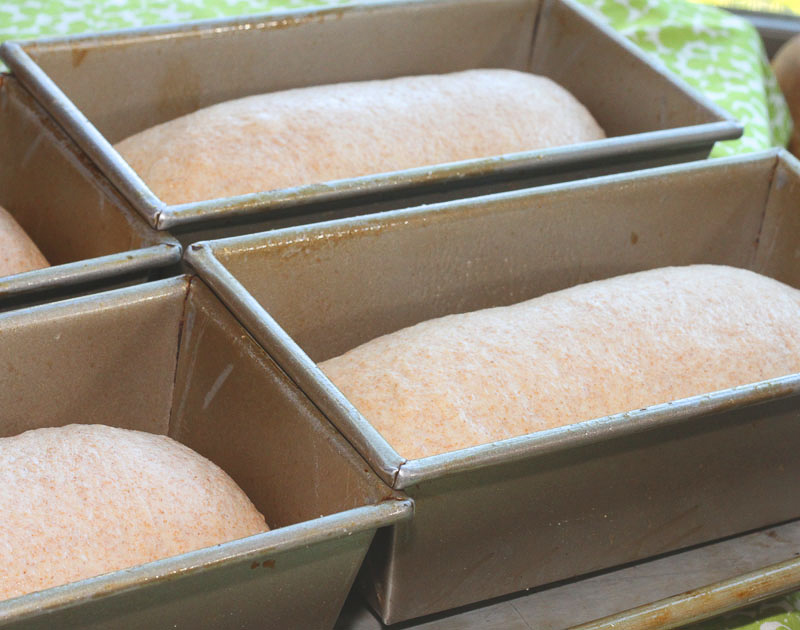
Roll up jellyroll-fashion and pinch edge together to seal. Cut into 12 to 15 slices. Coat bottom of a 13-by-9-inch baking pan and a 8-inch square pan with remaining 1/2 cup melted butter, then sprinkle with remaining 1/4 cup sugar. Place cinnamon roll slices close together in pans. Let rise in warm place until dough is doubled in bulk, about 45 minutes.

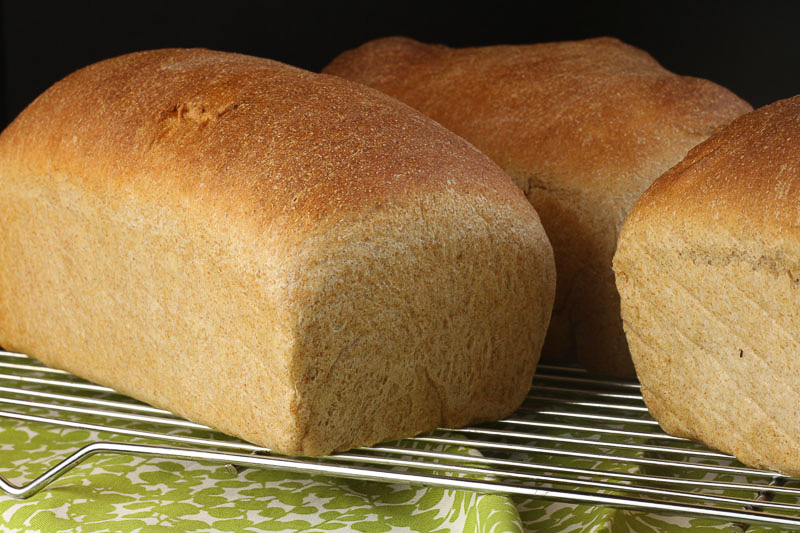
While rolls are rising, preheat oven to 350 degrees. Bake 25 to 30 minutes, or until rolls are nicely browned. Cool rolls slightly.

To prepare Frosting: Meanwhile, in medium bowl, mix melted butter, powdered sugar and vanilla; add hot water 1 Tbsp. at a time until glaze reaches desired spreading consistency. Spread over slightly cooled rolls.

Alternate Icing: (this is the one in the photo)

Ingredients:

2 cups margarine (yes, really margarine!)

2 cups cream cheese

4 cups powdered sugar

2 teaspoons lemon juice

2 teaspoons vanilla extract

Directions:

Allow margarine and cream cheese to reach room temperature. Beat cream cheese and margarine together in a bowl with a mixer. Slowly add in all powdered sugar. Once all of the sugar is in the bowl mix for AT LEAST an additional 12 minutes. When almost done, add in the extracts.


Before I sign off, I have to tell you about a new product created this week in the shopping area. It’s kind of a gift certificate, but you get to choose the amount. The person you give it to gets to spend it down with a code as they sign up for various classes. It’s pretty neat. You can have the code sent to you or to the person you’re gifting it to. It’s called the Little French Bakery Gift Card. There are eight different price points. I hope you like it.

I’m so glad so many of you signed up for the Pithivier Class. It’s going to be fun. There will be people from all over the country. Maybe even a few outside the US!

Have a great weekend! I’ll see some of you on Monday for the Scandinavian Baking Class! We’ve got a great line up for you.

From my house to yours,

Susan


Popovers

Beef Wellington, check.   Blue cheese Souffle, check.  Graham crackers, check.   These are all things I've made in the last year that I've always wanted to try.  Call it a culinary bucket list of sorts.  What's on your list?   Maybe it's simply roasting a chicken.  No one will make fun of you.   Give it a try.   What's the worst thing that can happen?  Frozen pizza?

three-popovers-4

three-popovers-4

I can't believe that this is the first time I've ever made popovers.  In the past I've tried to make the Dutch/German puffy pancakes without much success.  It seemed like a popover was in the same mystery family, so I've always found another option.  Today was the day.  Thanks to Baking with Julia and the Dorie Greenspan Tuesdays with Dorie group, Popovers made it on the calendar.

Much to my surprise, they were easy!  A quick brrrrr in the blender, 45 minutes in the oven and ta-da!  Tasty, dreamy popovers.  And without gooey centers, I might add.

The ingredients are super simple.  Flour, eggs, milk, salt and a butter.  The usual suspects.

ingredients-1

ingredients-1

 When all the ingredients are at room temperature, they get a quick brrrrr in the blender.  I've always wanted to include an overhead blender shot, so here it is!

Blender with popover batter

Blender with popover batter

I don't own a popover pan, so I opted for the muffin cups with 1/4 cup batter in each cup.  I very skeptically put the pans in the oven and walked away.  Then walked back and turned the oven light on.  This was too good to miss.   After a few minutes the popovers started to pop, and I knew I was in business.  Twenty-five minutes later, I reduced the oven temperature and waited for the finished beauties.   They were crisp, light, and best of all... not gooey in the middle.   I split one open, spread a little more butter and drizzled it with honey.  Why was this the first time I'd made these?    I hope you'll go to Paula's blog, Vintage Kitchen Notes, or Amy's blog, Bake with Amy to find the recipe and give popovers a try.

popovers-on-tray-3

popovers-on-tray-3

single-popover-5

single-popover-5

Now on to the next new-to-me recipe...  I think it might be pretzels using real lye!  Stay tuned.

Baking with Julia Week 1: White Bread

It's finally February 7th!  I've been waiting patiently (well, not so patiently) for today.   Today is the very first week of Baking with Julia, a baking group coordinated by Dorie Greenspan.  The original group baked its way though Dorie's Baking book.  They completely the recipes and were ready for the next challenge.  Dorie Greenspan authored Baking with Julia, so its fitting her book is next. Twice each month, we'll bake two recipes from the book and post to http://tuesdayswithdorie.wordpress.com/     As some of you may know, I also participate in French Fridays with Dorie, which bakes & cooks recipes from Around My French Table.

I never had the opportunity to meet Julia Child, but I love her.  I love her fearless spirit, her laugh, her stature, and most of all her love of cooking.   When I pull out her books and read a recipe, its her voice I hear reading to me.   If something spills or doesn't turn out quite right, she's there in spirit with her happy, let's move on, coaching.  I know things will turn out fine.   My hope is that I can inspire people the way she does some day.

I hope you'll pick up a copy of the book and bake along with me.   Feel free to add your link or notes in my comments area.  Or, sign up with the group.   The February 21st recipe is Chocolate Truffle Tartlets!  Can't wait!

Let's start baking!

Of all the categories in the patisserie world, I think I like bread making the best.   It takes times, patience, and the coordination of efforts with dough.    Yeast is in charge of most of the process.  You can try to rush it, but its really going to do what it pleases.   It's more like a duet.

The recipe makes two loaves of bread.  I doubled the recipe (exactly) for make four loaves.   I also used my French bread kneading machine just to pull the dough together.   I finished the dough my hand.  The machine is to cool.  It turns against the doughs friction against the side as the hook pulls and turns the dough.  Just the action that you do with your hands.  It allows me to make bigger batches, and have my hands free for other baking.   It's very gentle, and still requires fairly close supervision so the dough doesn't wander up the hook or out of the bowl.  We used a machine like this at school, and I was able to find one when I got home.  I can make up to about 10 loaves of bread in it at a time.  Not huge production, but bigger quantities than can easily be done by hand.

Once the dough was mixed, it rested for about 5 minutes.  This process is called autolyse.  The yeast gets started, the flour and water setttle in, and the gluten begins to develop.

When I'm teaching a bread class, the number one question is always. "How long will I knead the dough?"  The best way to know that you're finished kneading it to check a gluten window.   Gently cut off a small piece of dough, gently tease/strectch the dough with your fingers and look for a sheer pane of dough that wont' tear as it's being stretched.   It you can make it sheer without tearing, you're finished!   Here' a photo of the White Breads' gluten window.

Notice the light coming through the sheer dough.  I was doing the photography and stretching myself, so the dough isn't stretched as thin or far as I would have like.    Every single time I make bread, I check for the window.  Every batch is different, and I always want to make sure I've worked the dough enough.

After the dough has had a good rise, and at least doubled in volume, it's time to shape the loaves.  I weighed the whole batch, then divided by four to make sure each loaf was about the same size.  You certainly don't have to be this picky, but baking is much more even when the loaves are the same.   I like to cover the bread pans with a favorite towel.  Call me superstitous.   By the way, did I tell you that I always spin the dough three times, then flip it in the bowl before it starts to rise?   Habits are good!

Here are the sweet loaves shaped and ready for the 2nd rise.

The 2nd rise is about an hour.  The key to to let the bread rise until the loaf is about 1 inch about the top of the pan.  That way, with the added spring in the oven, you'll have a nice tall loaf  with perfectconsistency to the crumb.  This recipe has a little bit more yeast than some recipes, so the bread rose faster than I was expecting.  It's just a bit taller than usual, but doesn't it look great!??

Now into the oven!  The yeast will work like crazy as the temperature of the dough increases.  Once the dough reached about 120 F, the yeast will die, and bread will be it's finished size.    I bake the dough until the internal temperature is about 180-200F.   Just push an instant read thermometer right into the end.  You can also pop the dough of the pan and look at the color.   It should be golden.  Once you've got the temp and color, try to tap the loaf and listen to the "hollow" thump.   It's hard to know that sound unless you know the bread is done.    I turn the bread out of the pans immediately and let them cool on their sides.  OK, another weird habit, but it works.   I pulled this bread out of the oven at about 195F and liked the pretty light golden color.  This was JUST enough.   It could have easily gone another 5 minutes.  It's great for toast.  Don't underbake your bread.  The golden color is caramelization of the sugars which equals flavor!

The bread is cool, and upon inspection, no swirly holes.   It has a nice soft but sturdy, consistent crumb.   And... look at the cute shape of the loaves.  They look like the cookie cutter shape of bread!  and...not too high to fit into the toaster!

I hope you'll join me in two weeks for the Chocolate Truffle Tartlets.  In the words of our dear Julia,  "Bon Appetit"!

L'été de blé- The Summer of Wheat

I just ordered ten pounds of wheat seeds. Not just any seeds, but heirloom, organic seeds. Two kinds. Hard spring and Hard red spring. Here's my plan. I'm hoping to plant, harvest and mill the wheat to create bread baked in the wood-fired oven. This really isn't anything new. In fact, many bakers are getting closer to the grain production process to help create the best grains possible for great artisan breads. It's new for me though.

Along with the seeds, I also ordered a sickle (medium to be exact), and two books. I'm starting from scratch. The first thing we need to figure out is where to plant the garden. Since we won't be treating the soil with any herbicides, I have to figure out how to plant the wheat to best reduce the weed invasion. In years past, the weeds won the tomato vs. weeds battle. This year I'm determined to have amber waves of grain swaying in the breeze.

I've read that birds will be attracted to the freshly planted grain, and a scarecrow will be necessary. How fun! There must be two. A boy scarecrow and a girl scarecrow. Oliver and Lisa seem like good names, don't they? One at each side of the garden. I almost want to call it a field, but I don't think this will qualify for field status. Plot sounds scientific, so for now I'm sticking with garden. A jardin joli. (pretty garden)

I'm expecting the seeds early next week. As soon as we can get the soil ready, the seeds can be planted. I'm looking for a great name for this project. Grain Garden has potential since the abbreviation is GiGi- and I love that! There should also be a really wonderful quote. There are two that caught my attention. "Every woman needs a blowtorch". Julia Child; and "You must do the thing you think you cannot do". Eleanor Roosevelt. It's a little random, but so is deciding to grow wheat! I hope you'll cross your fingers and join me in the journey to create bread, from scratch... Really, from scratch.