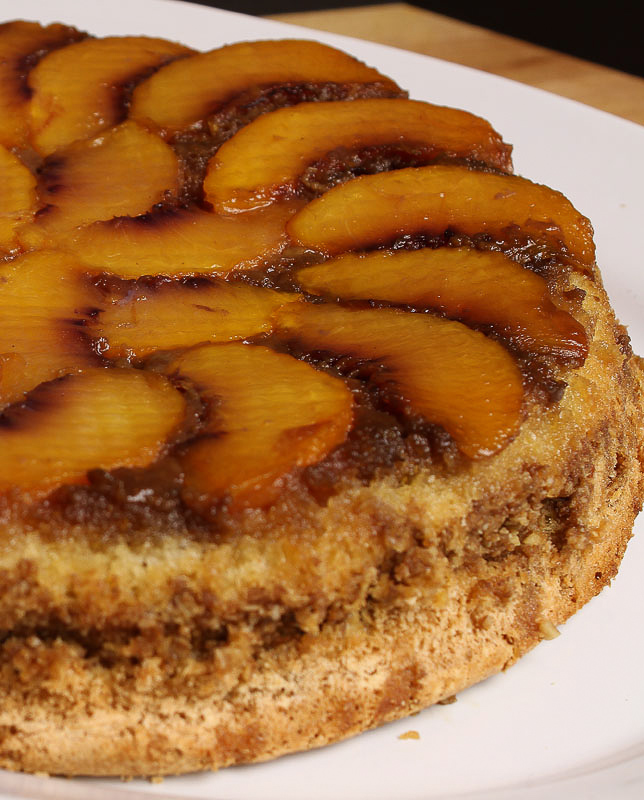
This recipe is the essence of autumn. Our host this week is Rebecca from This Bountiful Backyard. Rebecca will have the recipe on her site when you're ready to make is extra special treat.
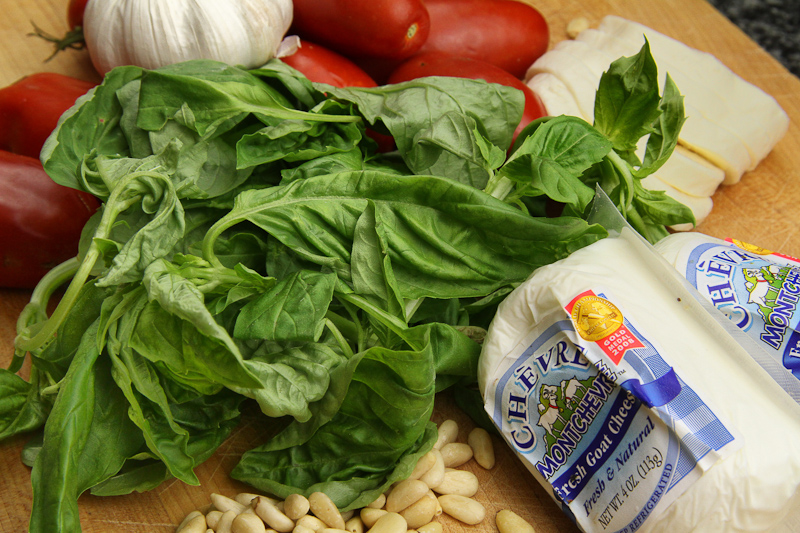
The cranberries proved to be a little more difficult to find than I expected. I went into the grocery expecting to find a huge pile of bags. Not one. I checked the frozen fruits, none. I went back to the clerk and asked about cranberry whereabouts. She told me "it's not cranberry season." What? It's fall for crying out loud, and it's Cranberry Festival in Warrens, WI. How can they have cranberry festival without cranberries? I mentioned my dilemma to my friend who just by luck had some frozen in his freezer. I only needed 2/3 cup, so we were back in business.

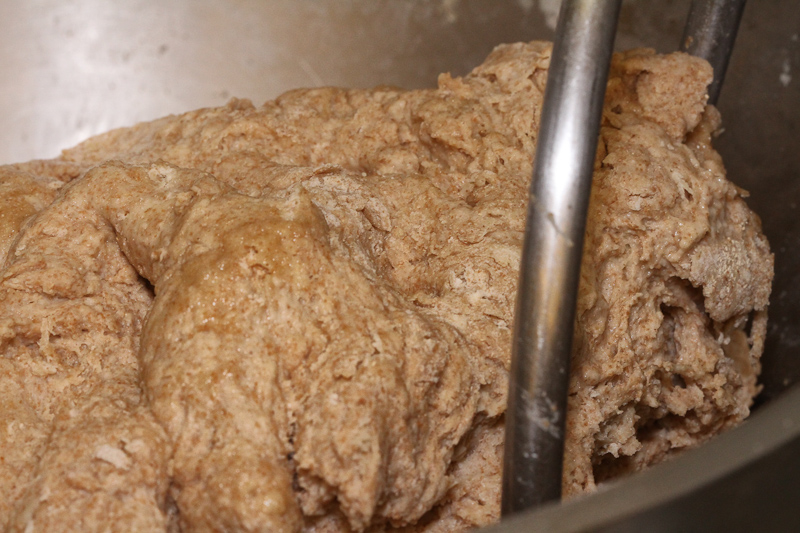
The title of the recipe sounds like a quick bread, doesn't it? It's not. It's a yeast bread. It rises once, then into the fridge overnight. After a long wake up (3-4 hours) to warm to room temperature, it's then shaped and rises one more time. The actual hands-on time was about 15 minutes. Please don't let the long resting times scare you. It's well worth the wait.


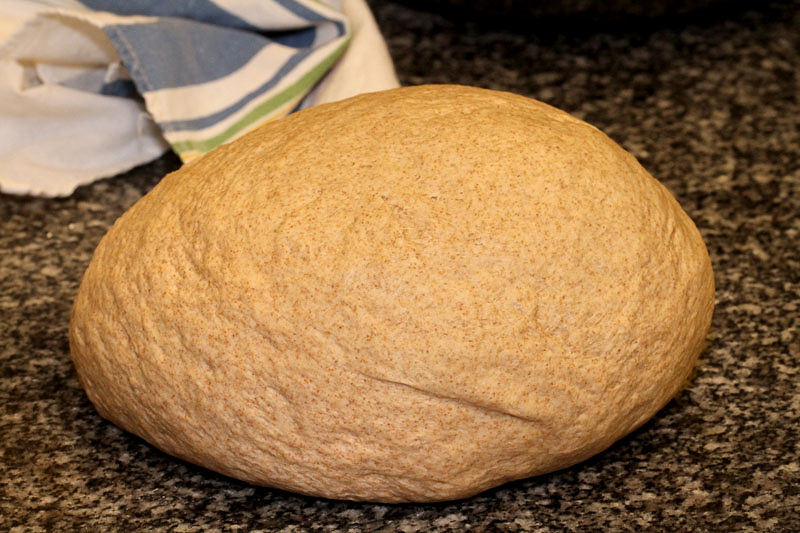
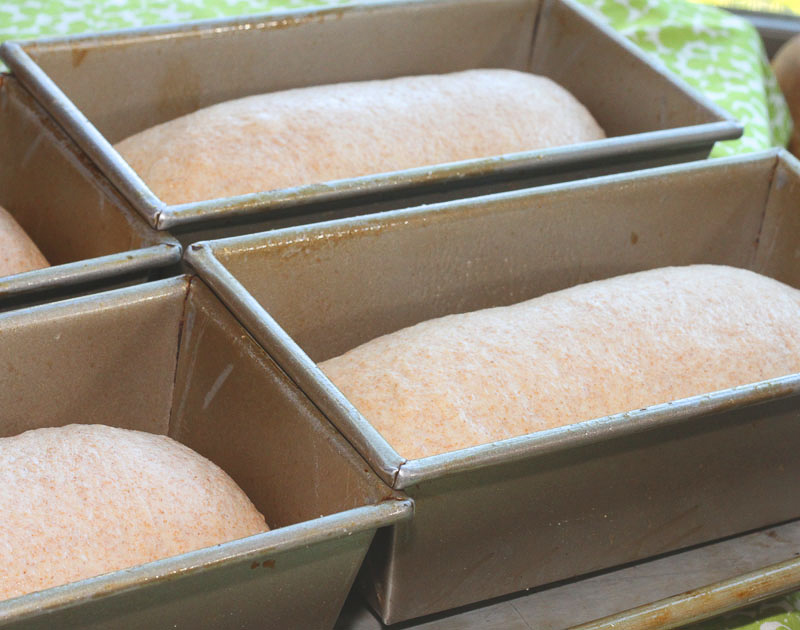
The recipe mentions using the dough hook to combine the dough like brioche. This gave me an idea. Since I don't have any little pans, making the loaves the bread in the style of brioche in brioche pans might just work. After the long overnight rise, I divided the dough into 4 large portions, and 6 smaller.


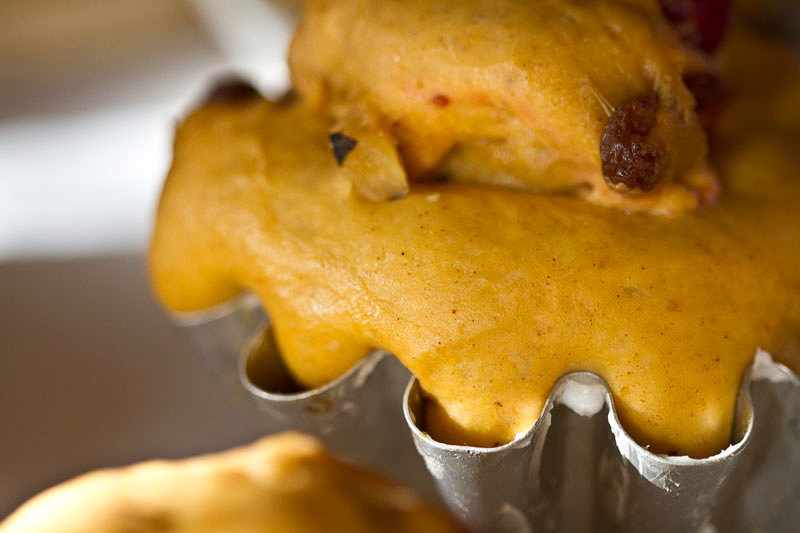
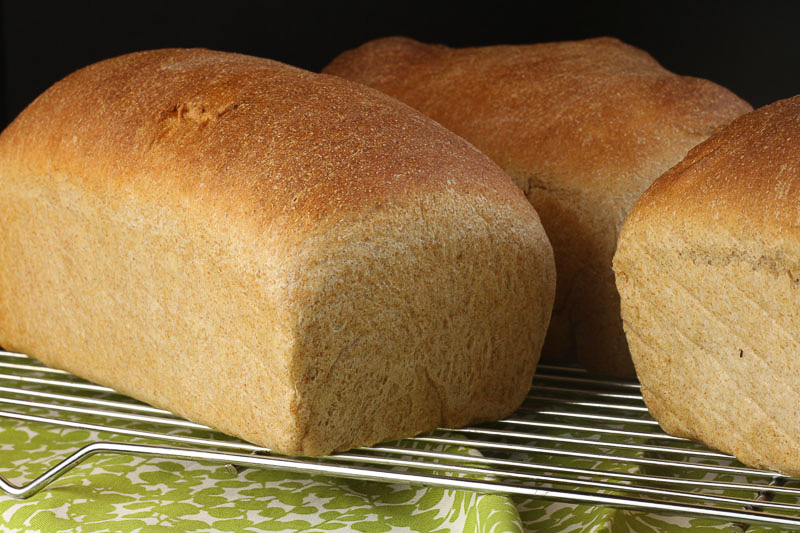
After the second rise, the autumn brioche were ready for the oven.
When they first came out of the oven, there was a moment of panic when I tugged on the sweets balls of bread and they showed no signs of wanting to release from the brioche pans. Never fear, after a few minutes of cooling they popped right out the tins.
I really like the flavor of the bread. Very subtle pumpkin flavor, nice texture with the walnuts, then bang! A burst of cranberry. I added a smear of butter when I tasted mine. Then I had an idea (flash!). Orange goes so well with all the ingredients, how about an orange butter to go with the bread? I know, there's plenty of butter in the recipe, but it just needs a little something. I thought about making slices of French toast, and using the orange butter, with some maple syrup. Doesn't that sound great? Or, even better... cubing the bread and making a wonderful bread pudding for brunch. The options are endless.
Here's my recipe for Orange Butter. It's SO good on the pumpkin bread. Just refrigerate if you don't use it all right away.
To print this recipe, click HERE
Orange Butter
1/2 stick (4 T) Salted butter, at room temperature
zest of 1 orange
3 T powdered sugar
Combine all the ingredients together, and serve.